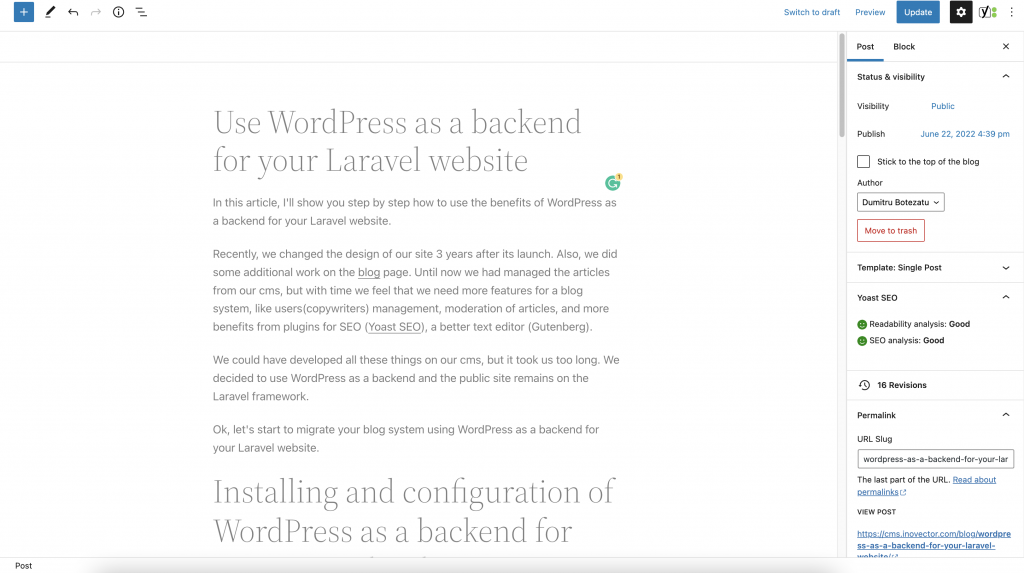
In this article, I'll show you step by step how to use the benefits of WordPress as a headless CMS for your Laravel website.
Recently, we changed the design of our site 3 years after its launch. Also, we did some additional work on the blog page. Until now we had managed the articles from our cms, but with time we feel that we need more features for a blog system, like users(copywriters) management, moderation of articles, and more benefits from plugins for SEO (Yoast SEO), a better text editor (Gutenberg).
We could have developed all these things on our cms, but it took us too long. We decided to use WordPress as a headless CMS and the public site remains on the Laravel framework.
Ok, let's start to migrate your blog system using WordPress as a headless CMS for your Laravel website.
Installing and configuration of WordPress as a Headless CMS for your Laravel website
First, download fresh WordPress and install it on your server on an additional domain or subdomain of your domain, for example, https://cms.example.com. Next, you have to install some plugins:
- Headless WordPress - We used this plugin to disable the front-end of the WordPress website. The site is available only for logged users.
- Disable REST API - We disabled the default WordPress API because we are planning to use a package for Laravel to get articles from the WordPress database.
- Yoast SEO - The first true all-in-one SEO solution for WordPress.
- WP User Profile Avatar - Allow you to change the default WordPress avatar
- Regenerate Thumbnails - Regenerate your uploaded media to specific sizes used by your design.
- Code Syntax Block - Extends the WordPress block editor by adding syntax highlighting support to the core code block.

Configuration Laravel website
With the package Corcel, we'll get data directly from our WordPress database. It's a pretty handy package, we love it ❤️. Thanks to the contributors!
We created a model "Article" and extend it with Corcel "Post" model.
class Article extends Post
{

    protected $postType = 'post';

    public function seo(): array
    {
        return $this->meta->whereIn('meta_key', ['_yoast_wpseo_title', '_yoast_wpseo_metadesc', '_yoast_wpseo_estimated-reading-time-minutes'])
            ->map(function ($item) {
                $key = Str::of($item->meta_key)->after('_yoast_wpseo_')->value();
                $value = $item->meta_value;

                if ($key === 'title') {
                    $value = Str::of($value ?: $this->title)->replace('%%sitename%%', config('app.name'))->value();
                }

                return [
                    'key' => $key,
                    'value' => $value
                ];
            })
            ->pluck('value', 'key')
            ->toArray();
    }
In our controller:
$articles = Article::published()->with('thumbnail')->latest()->paginate(15);Import Gutenberg styles
Install Block library for the WordPress editor.
npm install @wordpress/block-library --saveThen, you have to import some CSS files. If you are using laravel-mix, you can import them into /resources/css/app.css file.
@import "@wordpress/block-library/build-style/common.css";
@import "@wordpress/block-library/build-style/style.css";
@import "@wordpress/block-library/build-style/theme.css";
Conclusion
That's it! Now you can write your articles with an amazing experience offered by WordPress and display them on your Laravel website. If you have some questions about it, you can write to me at dima@inovector.com and I'll help you.

